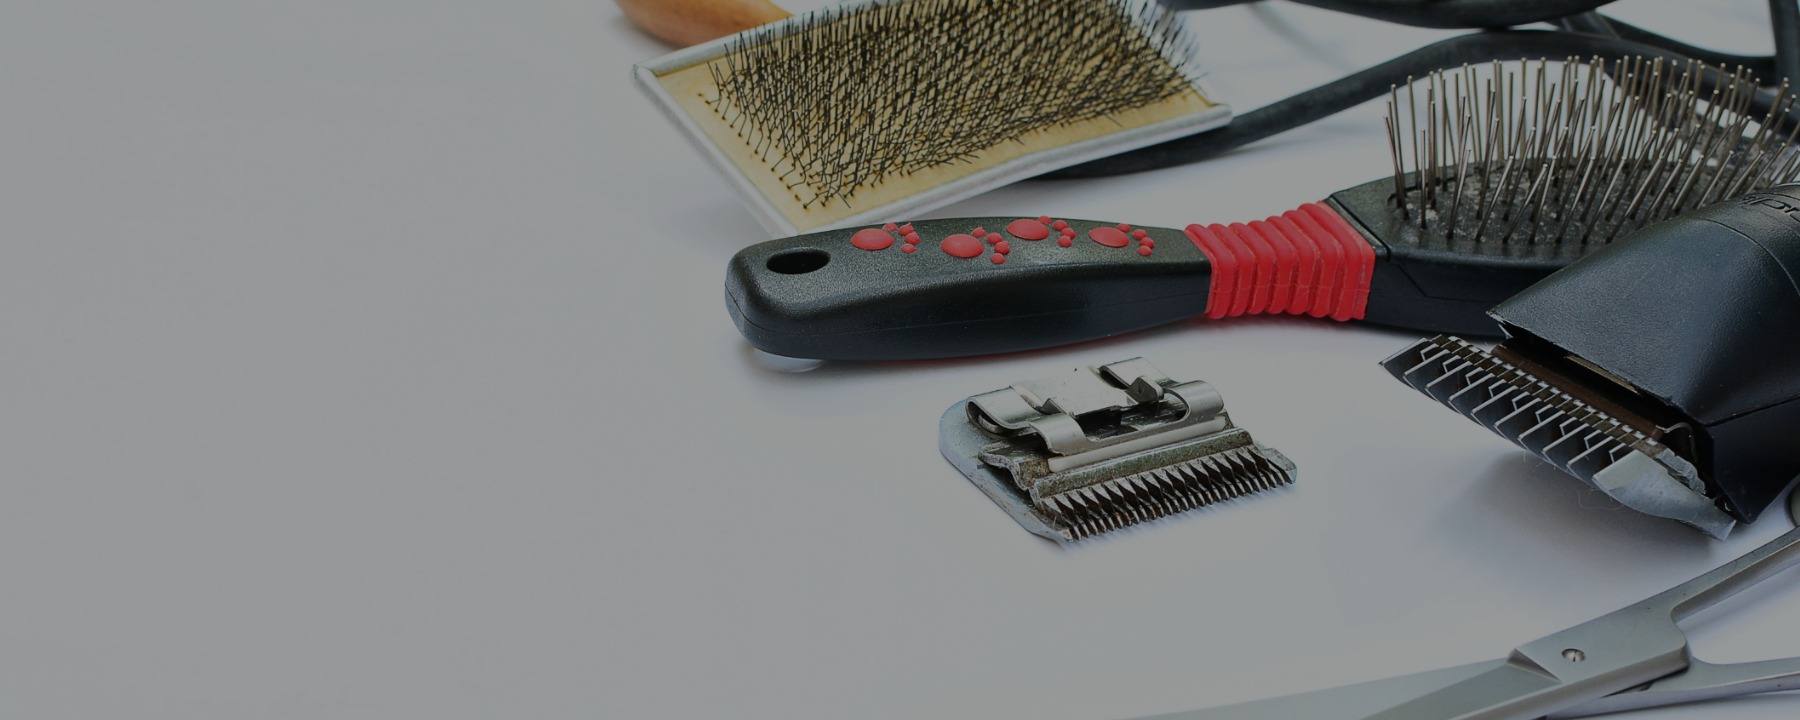
Every profession has its tools, and a dog grooming kit is paramount for certified dog groomers. Whether you work as a freelance groomer or in a salon, there’s no doubt that a kit made up of safe and high-quality tools is an important investment. In addition to being safe, your tools need to be as hygienic as possible at all times in order to maintain the health of the animals you care for, and this is best accomplished by keeping the entire kit clean.
A clean dog grooming kit starts with immaculate tools, so read on for our tool-by-tool guide to keeping your kit clean, and take notes!
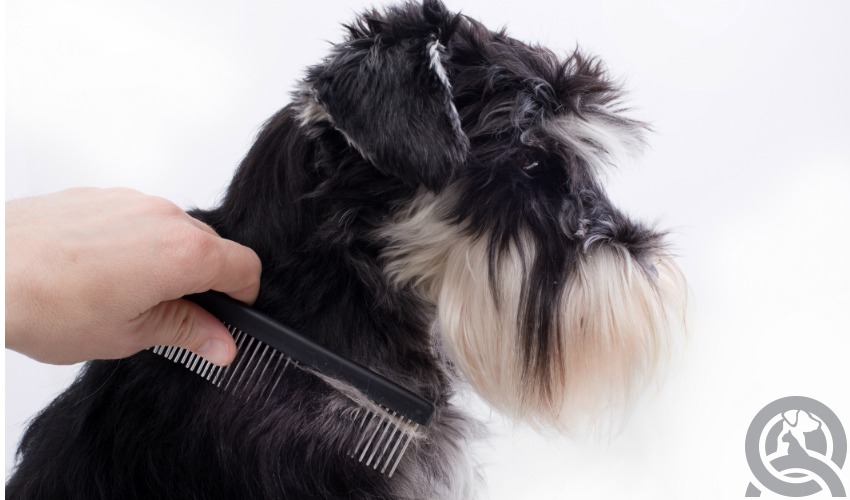
Brushes and combs
These are vital elements of your dog grooming kit, but you didn’t need us to tell you that! Each of your appointments as a groomer will involve brushes and combs, so not only do you need to ensure that these items are high quality, you need to keep them perfectly clean between appointments.
The majority of certified dog groomers have a slicker brush, pin brush, and bristle brush at the ready. While having these brushes in your dog grooming kit will ensure you’ll be prepared to groom any type of coat, it also means that you’ll have more items to maintain.
Don’t fret – it’s an easy process to complete, and can be done relatively quickly once you have a system in place.
We recommend keeping antibacterial soap, rubbing alcohol, and soft cloths in your dog grooming kit and setting aside a few moments after every grooming appointment to care for your brushes and combs. Once you’ve removed the hair from these tools, fill a sink or container with hot water, add a small amount of soap, and soak for about 10-20 minutes. Once they’re soaked and look as though they’re clean, remove them from the water and use the soft cloth to dry them. Be sure to dry them thoroughly to prevent rust (if you want to be extra vigilant, use a hair dryer for a few minutes).
Once this process is complete, you can be fully confident that the next pup you comb will benefit from safe, clean tools!
Scissors
Next to your brushes and combs, scissors are a mainstay in your dog grooming kit. You’ll likely use them for every appointment, and on some days, you’ll use them for long periods of time.
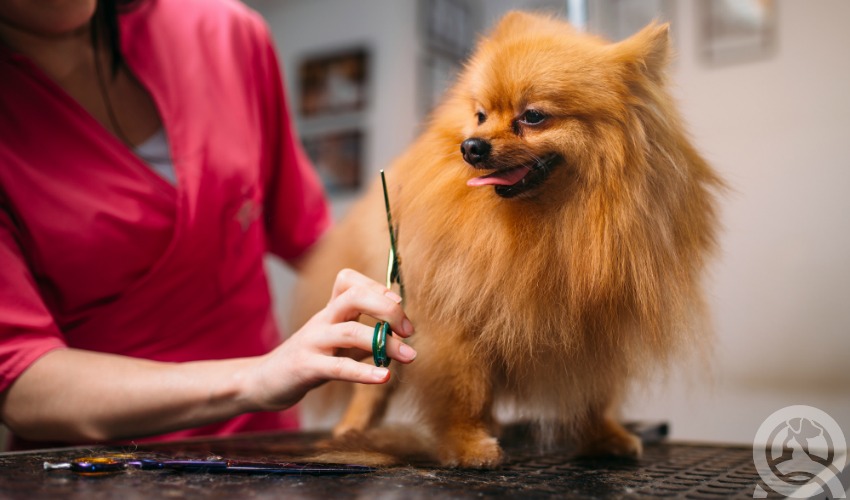
Because of this, you want to make sure that they’re comfortable, safe, and of course, clean as a whistle.
The good news about scissors is that you’ll need the same cleaning products as you did for brushes and combs – antibacterial soap, rubbing alcohol, and soft cloths are essential items to have on hand for all of your tools. After each use, scissors will need to be soaked in hot water (a bowl will do!) and antibacterial soap for about 20-30 minutes, and then dried completely with a soft cloth. An extra, necessary step for scissors is to apply rubbing alcohol on the edges that are used to cut, as these can collect dangerous bacteria that is passed from dog to dog. Once the alcohol has dried, keep your scissors protected in plastic or another covering to ensure they stay pristine for the next animal.
Scissors take a few more minutes to maintain, but this attention to hygiene and safety is absolutely essential when working with animals. Your clients will pick up on this cleanliness and professionalism, as you’ll be taking out gleaming, impeccable pairs of scissors to groom their dogs. Don’t ever think that your attention to detail (and the dog’s health!) isn’t recognized!
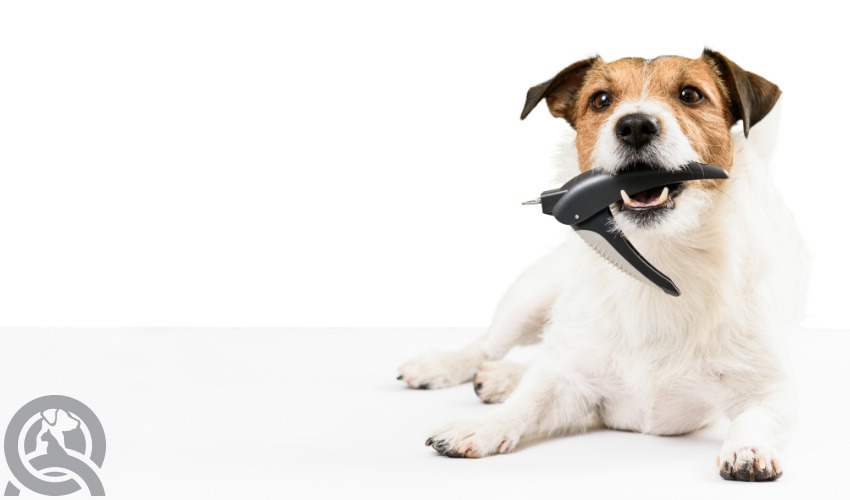
Nail clippers
There are a variety of different nail trimmers you can choose to use as a dog groomer. Some professional groomers prefer plier-style over guillotine-style clippers, but it all comes down to preference.
No matter which style you choose, the cleaning process is the same as scissors – keep those cleaning tools handy and be sure to douse the clippers with rubbing alcohol to ensure they are completely pristine.
Dog hair clippers
Another essential item in your dog grooming kit is dog hair clippers – they need to be strong, reliable, and of course, kept free of hair and other bacteria between appointments. Your clippers may be corded or cordless, depending on your own preference and workspace, but there is really one standard way of keeping the blades clean.
The cleaning process is slightly more intricate than scissors or brushes, but it’s no less important. It’s best to clean used blades at least once a week, but if you find yourself frequently clipping dirty or dense-coated dogs, you may want to clean them more often. To clean the blade, soak the blade end of the clippers into a pot or bowl of blade cleaning solution, and then turn the clippers on while they’re submerged in the cleaner and keep them there for about 8 seconds. Remove them from the cleaner, turn them off, and wipe the blade on a rag or piece of paper towel.
It’s also essential to make sure that there is no hair caught in the blade after an appointment. To clean hair out of a blade, slide your cutting guide out slightly with a screwdriver and use a clipper brush (or an old toothbrush!) to brush any hair out of the blade. You can also use a can of compressed air, which will do the trick. You definitely don’t want any excess hair staying in the clipper blade between appointments – this is not hygienic!
Coolant and oil are extremely important products to clean your blades with, but because they’re liquid-based, it is extremely important to keep them as contained as possible in your dog grooming kit. Moving from appointment to appointment, the last thing you want is for these items to spill and soil the grooming tools that you took the time to clean! Cooling sprays generally come in aerosol cans, so they aren’t likely to leak out (but you should still be careful). As much as you can, keep separate compartments within your grooming kit in order to ensure that liquids stay together and your tools are well out of the way in case anything happens to open by mistake or spill out.

Putting it all together
The great thing about cleaning each of your dog grooming tools between appointments is that your dog grooming kit will benefit as a result! Putting dirty, potentially dangerous tools into your kit will create an environment where bacteria and other harmful germs live, so it’s essential to keep those tools clean as much as you possibly can. Also be sure to clean the actual kit every few weeks by wiping it down with an antibacterial cloth, as germs can collect from appointment to appointment just by putting it down on certain surfaces.
QC Pet Studies equips students with a free professional dog grooming kit upon enrollment – check out what’s included!


where do u store your scissors and brushes when not in use