If you want to be a successful dog groomer, you’re going to need to know the Teddy Bear Cut. But if you’re new to this haircut style, don’t worry! QC Pet Studies alumnus, April Costigan, is here to break down everything you need to know to get started!

Introduction to The Teddy Bear Cut
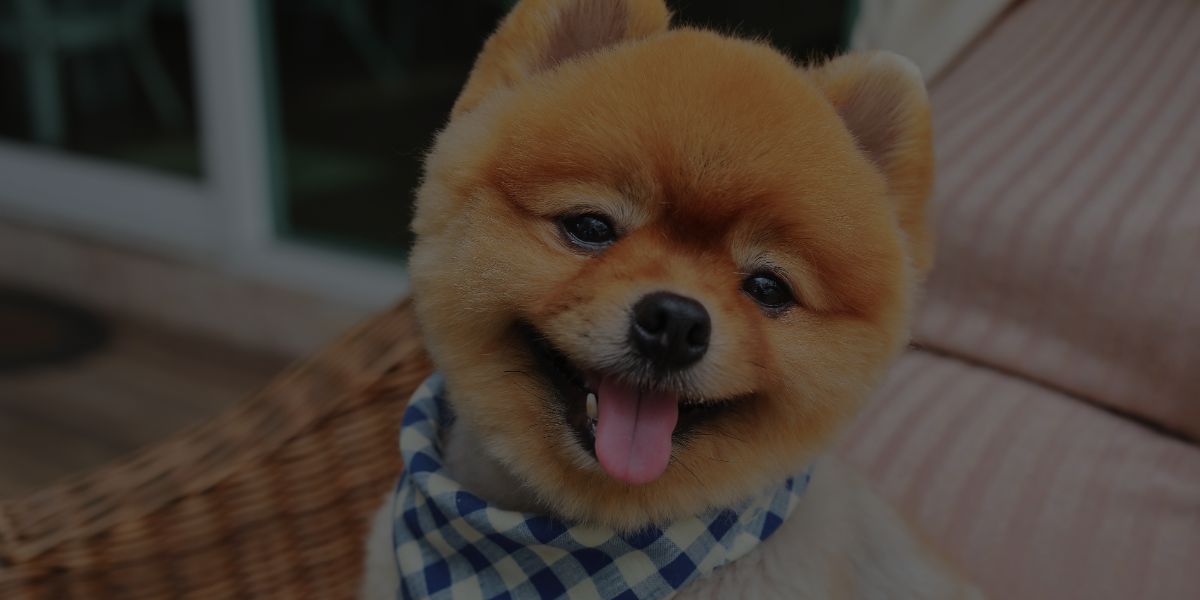
The Teddy Bear Cut is one of the cutest cuts – as well as one of the most requested. It features a rounded face, with a short clip to the body and legs, and rounded feet. Depending on the density of the coat, longer hair may be left on the legs if the coat is thin. This will help give the cut a more balanced look. Sometimes, especially on older dogs, the coat is thinner on the body and thicker on the legs. Thus, it may be necessary to compensate for these differences.
QC Pet Studies’ online Dog Grooming certification course features this cut in their “Pet Cuts” booklet. Here, you get very thorough instructions on how to achieve a pristine Teddy Bear Cut. I personally refer to this booklet from time to time – specifically, when I have questions while working on a dog that has coat challenges, such as the ones mentioned above.
Achieving The Teddy Bear Cut
Prep Work
To achieve the perfect Teddy Bear Cut, make sure you have completed all of the prep work first. This includes:
- Trimming the dog’s nails;
- Trimming the paw pads;
- Performing a complete sanitary cut;
- Cleaning the ears;
- Bathing the dog
- And drying them afterwards.
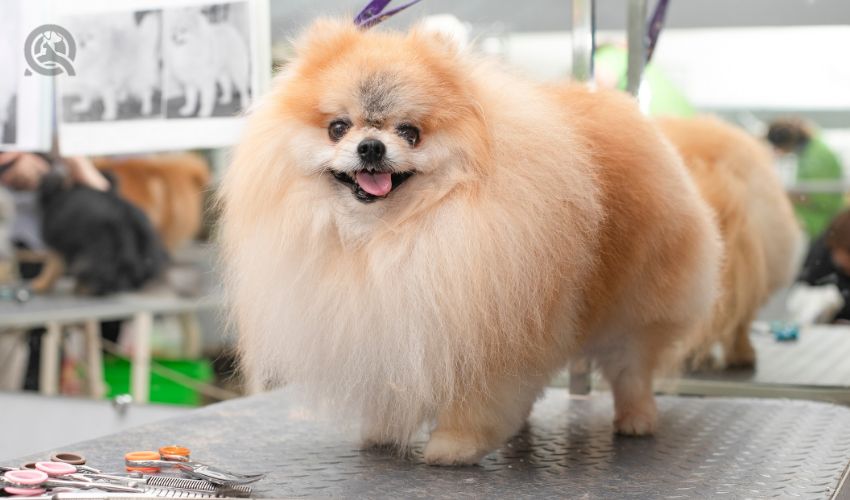
When drying, make sure to blow out as much curl as possible (if you ‘re working with a curly coat). This is an important step in order to attain the look you want, which is an even coat length on the dog. Then choose a comb that’ll give you the length of coat your client prefers.
Clipping the Coat
Once the dog is completely dry, you can begin clipping the coat. Start at the base of the skull and run your clippers down the topline, to the tail. Next, clip the hips and beneath the tail. I like to clip both rear legs on the outside and the inside, before clipping the sides of the body. Personally, I feel this gives me a better opportunity to ensure an even length all over. It’s my personal preference.
Once the dog’s hips and legs are complete, I then move to the sides. Once that’s completed, I proceed to the neck, shoulders, front legs, and chest. Complete the body and legs by giving the dog nice, rounded feet. You can do this using your rounded shears.
Don’t forget to fluff the fur between the toes! This way, you can trim off any really long hairs and blend them into the tops of the rounded feet. After this, use your metal comb to fluff the fur all over the body and legs. During this part of the process, you can also trim off any stray or uneven areas using your blending shears. I like to use my rounded shears and my blending shears to blend the sides into the underside of the body. I’ve found that this gives the dog a nice, rounded shape.
Want to see a visual breakdown of each of the above steps? QC Pet Studies‘ self-paced training outlines and demonstrates the entire process in their instructional video, as well as in their reference booklet!
Creating The Teddy Bear Face
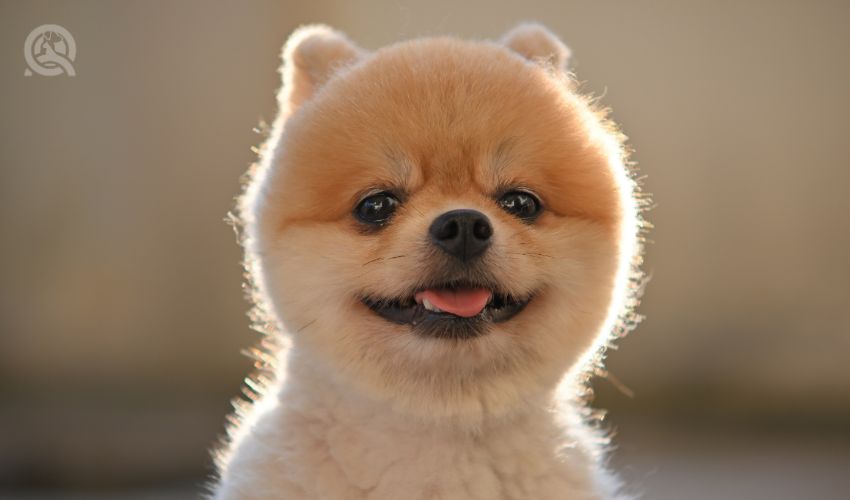
Once you’ve blended and shaped the body, legs, and feet, it’s time to complete the Teddy Bear face! The face should be rounded and full when looking at it from the front. This includes the top of the head, sides of the cheeks, and the hair on the chin (a.k.a. the “beard”). When combined together, all of these elements give the appearance of the soft, rounded Teddy Bear Cut.
To reveal expressive eyes, first comb the hair on the top of the head forward. Using your straight scissors, rest them on the bridge of the dog’s nose. Then, with your scissors angled straight up, make the cut level with the stop. Trim the hairs on the top of the nose, close to the eyes. This will remove any hairs that could obstruct the dog’s vision and detract from the desired expressive look.
Fun fact: trimming out tear-stained hairs will also brighten the eyes! So, trim back any long or scraggly hair that may appear on the outside of the eyes. If these are left, it gives the dog a sad, droopy expression… and that’s not what we’re looking for!
I like to use my rounded scissors to shape the cheeks and jaw. Next, I blend the jawline into the base of the ears. Using my blending shears, I make a smooth transition from the head into the neck. Fluff the hair periodically on the head and face to ensure you can trim off any scraggly hairs that disrupt the rounded look. Remember: you’re trying to achieve a rounded, symmetrical shape!
Trimming the top of the muzzle should be done with curved scissors and blended into the beard. Finally, blend the back of the neck by tilting the dog’s head forward and using your rounded scissors (or your blending shears) to create a slight arch that blends into the body.
Watch Me Create a Teddy Bear Cut!
I’ve filmed a video of me completing a Teddy Bear Cut on Riley, a dog of one of my regular clients. I do apologize for the quality – this was my first time at videoing an entire groom. However, I hope you find it helpful all the same!
Enroll with QC Pet Studies
QC Pet Studies’ Dog Grooming Course will prepare you to master the Teddy Bear Cut by introducing you to each element via written instruction. You’ll also have access to an excellent video tutorial by QC tutor, Lisa Day.
As a student, you’ll have this access to all video tutorials FOREVER! As a result, you can refer back to your training materials anytime you need them. Plus, when you first enroll, you receive a physical copy of your course materials, too. I found it awesome to have these at my fingertips for quick access!
Working with dogs and making them beautiful is a fun and exciting career. I hope you enjoy it as much as I do. Good luck to you!
